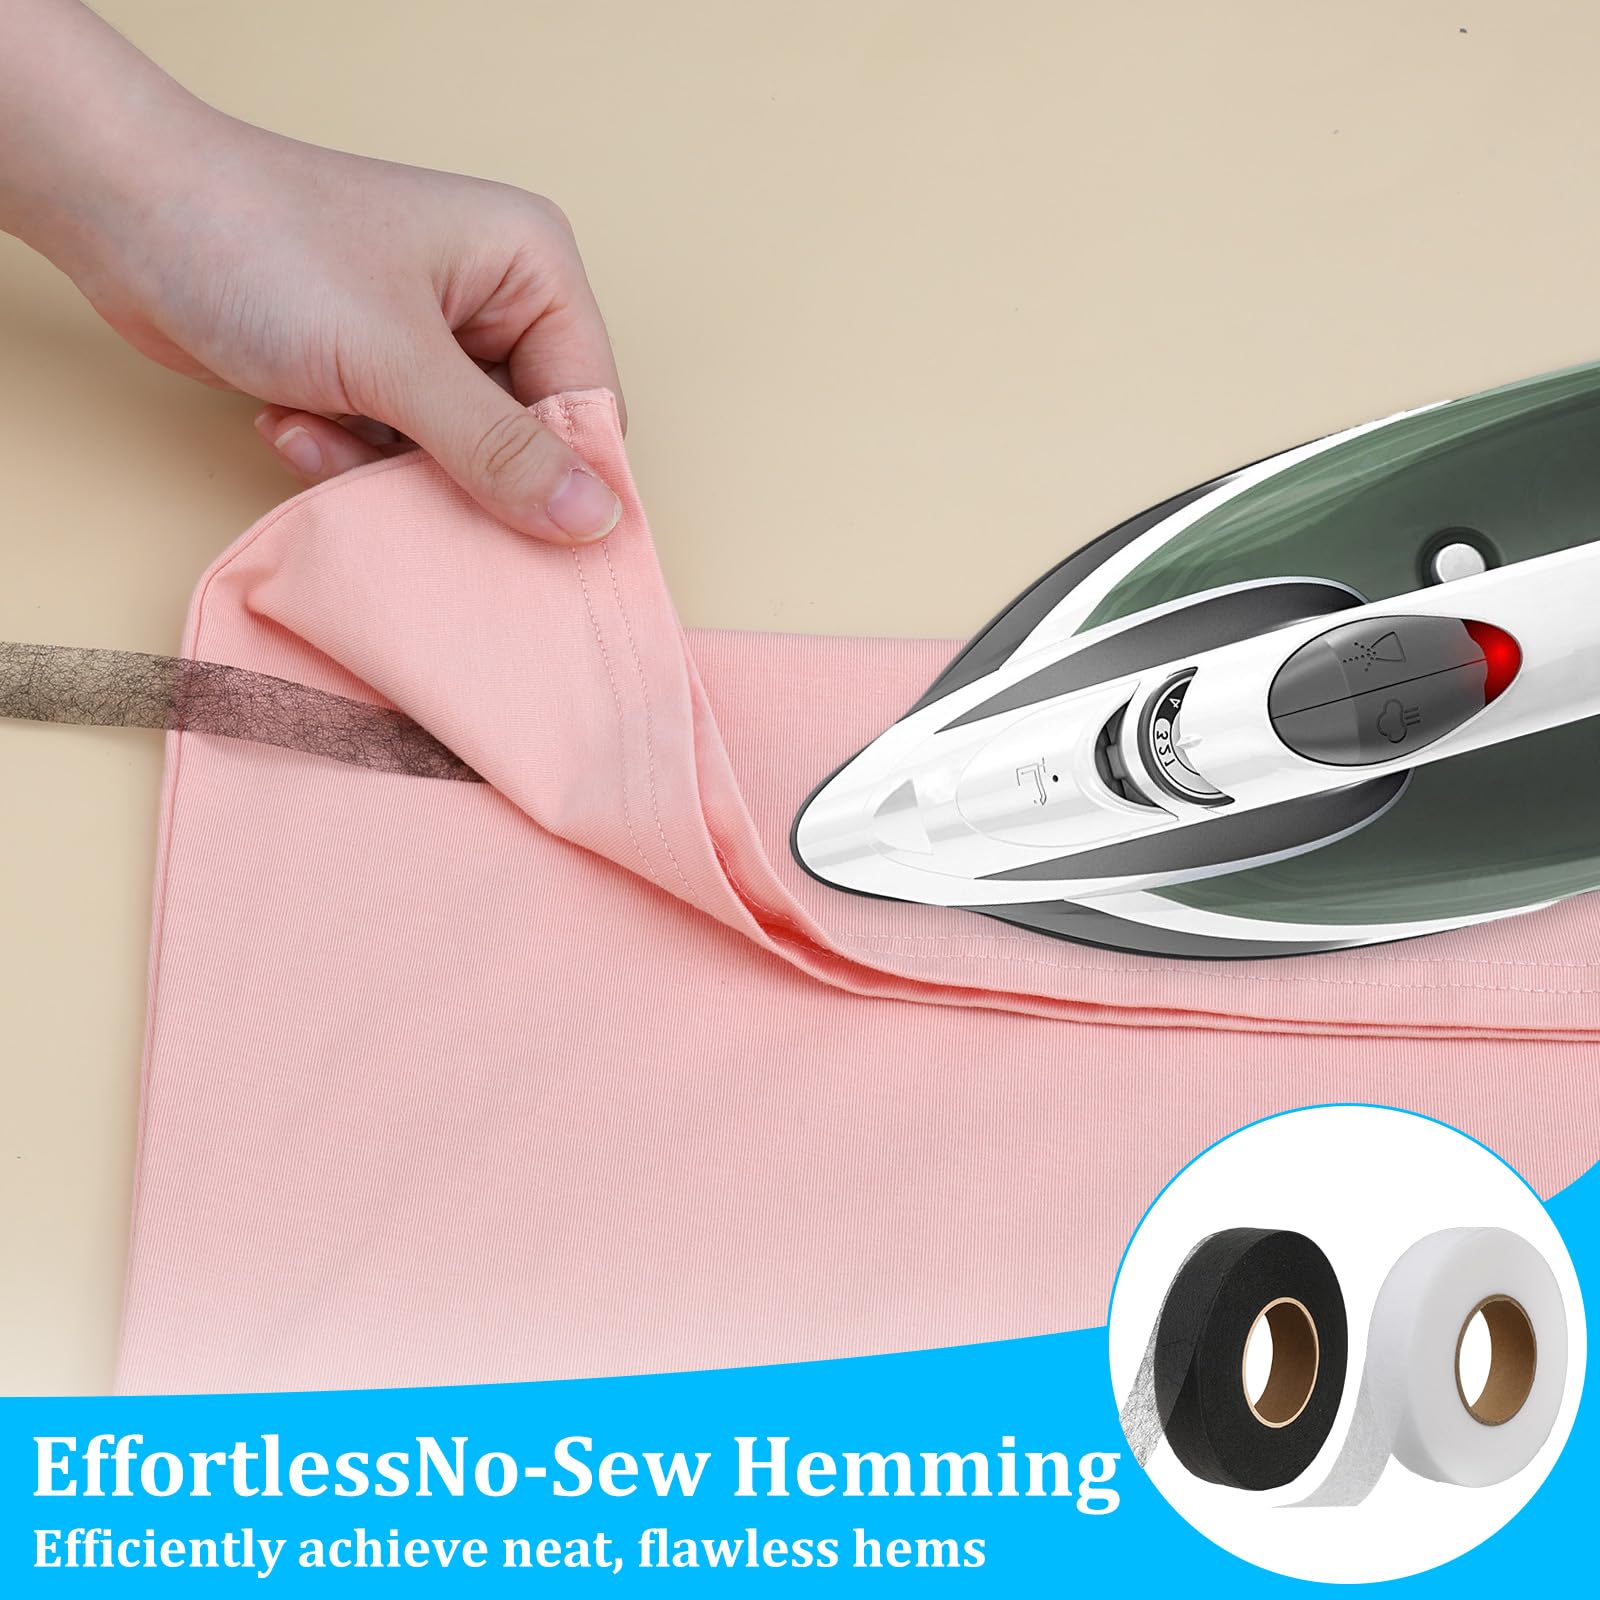
Clean fabric, align edges, apply tape, press with heat, and let cool.
If you want clear, reliable steps on how to use no sew adhesive tape, you are in the right place. I have used hem tape and fusible web on jeans, curtains, and last‑minute costumes. I will show you what works, what fails, and the small tricks that make a strong, neat bond that lasts.
5 Best Tape for Cold Temperatures : Top Durable Picks Tested & Reviewed
What is no sew adhesive tape?
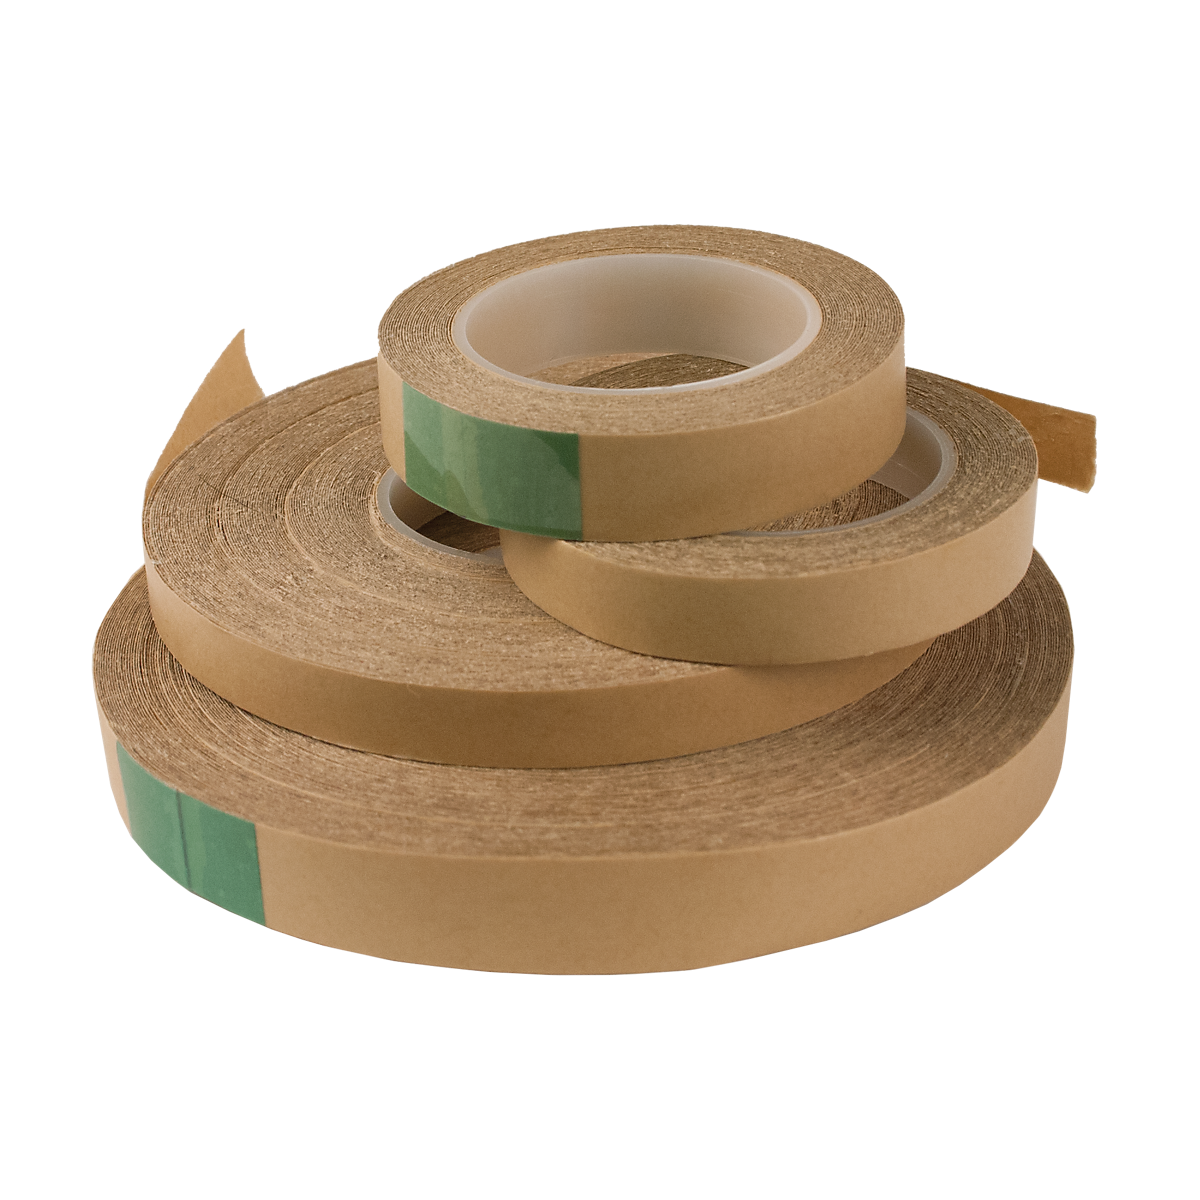
No sew adhesive tape is a thin strip of glue that bonds fabric to fabric. It is also called hem tape, fusible bonding tape, or fabric fuse tape. You learn how to use no sew adhesive tape in minutes, and it can save a project in a pinch.
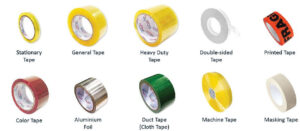
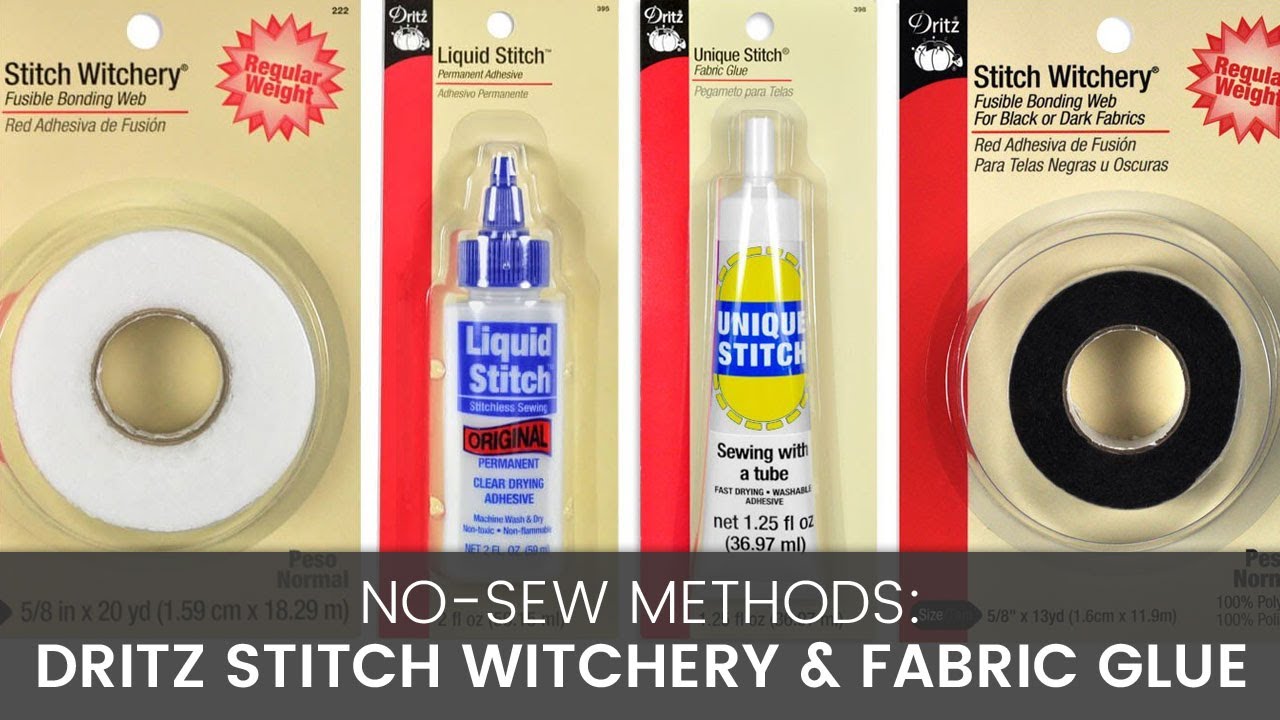
There are two common types:
- Fusible tape that melts with an iron and bonds as it cools.
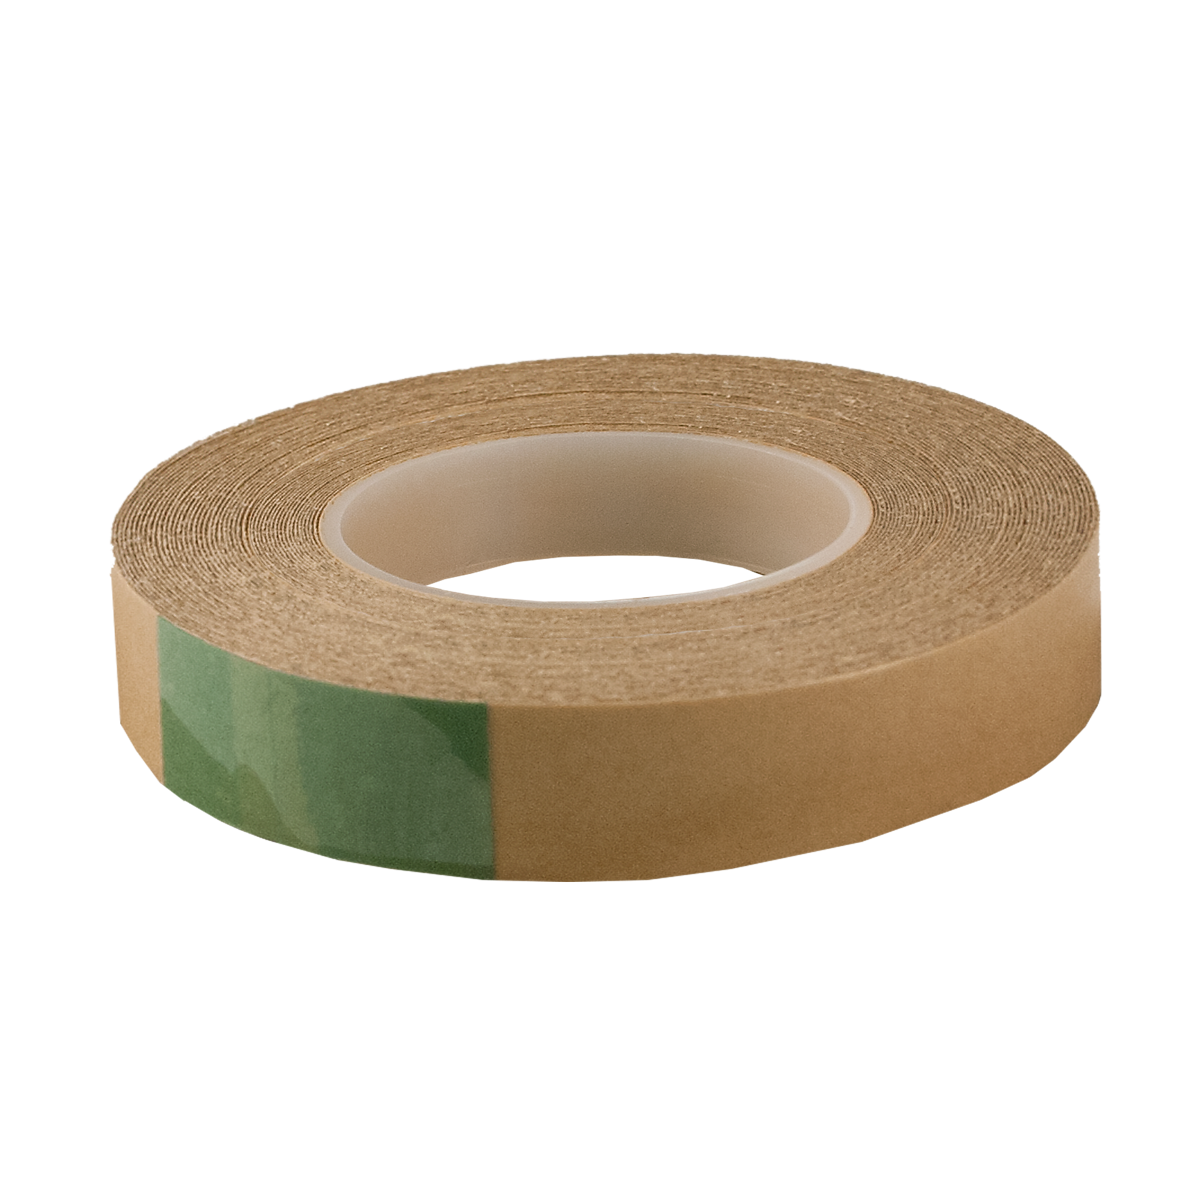
- Pressure sensitive fabric tape that sticks without heat for quick fixes.
Fusible tape makes a stronger, more long term bond. Pressure sensitive tape is fast and handy for light jobs or tricky spots.

How it works and when to use it
Fusible tape melts into the fibers under heat and pressure. When it cools, the bond sets. This is ideal for hems, trims, patches, and crafty edges. If you need a clean look with no visible stitches, it shines.
You can use it on cotton, denim, blends, and many knits. You can also use it on home items, like curtains and pillow edges. Learn how to use no sew adhesive tape before events, travel, or school shows, because it is clutch when time is tight.
Tools and materials you need
Gather a few simple tools before you start. This keeps the bond clean and even.
- No sew adhesive tape that fits your fabric weight.
- An iron with steam off or a heat press for fusible tape.
- A pressing cloth to protect fabric and iron plate.
- Scissors, ruler, pins, or clips to hold edges.
- A flat ironing board or hard pressing surface.
Check the tape label. It tells you heat level and press time. This one step will boost your results when you learn how to use no sew adhesive tape.
Step-by-step: how to use no sew adhesive tape
Below is the exact process I use for neat hems and strong bonds. Read it once, then keep it nearby the first time you try it.
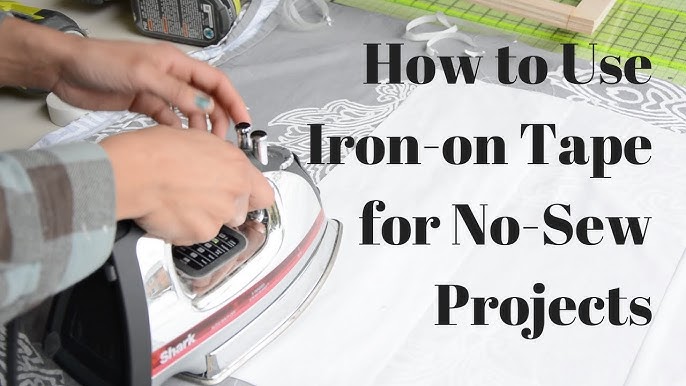
For fusible iron-on tape
- Prewash and dry the fabric. This removes finish and shrink risk.
- Press the area flat. Turn steam off unless the tape says to use steam.
- Measure and mark the hem or overlap with a ruler or gauge.
- Fold the hem to your mark. Press a crease to guide the bond.
- Cut tape to length. Keep pieces short for curves.
- Place the tape inside the fold or between layers. Do not let it peek out.
- Cover with a pressing cloth. This keeps glue off your iron.
- Press with firm, even pressure for 10 to 20 seconds per section. Do not slide.
- Lift, move to the next spot, and repeat with slight overlaps.
- Let it cool flat for a few minutes. Cooling sets the bond.
- Check edges. If loose, add a small strip and press again.
- Wait at least 24 hours before washing for best hold.
I use this flow on jeans hems, napkin edges, and curtain sides. It makes a crisp edge with no puckers.
For pressure sensitive fabric tape
- Clean and dry both surfaces. Dust weakens the bond.
- Apply tape, press down along the full length.
- Peel the liner and align the second layer of fabric.
- Press hard for 30 to 60 seconds. A roller or spoon back helps.
- Let it set per package guide before wear or stress.
Pressure tape is great for tags, trims, and event costumes. It is also useful when you cannot use heat. You will still follow the basics of how to use no sew adhesive tape here: clean, align, press, and set.

Fabric types and prep
Fabric choice affects bond strength. Test a scrap first. This five minute test can save hours.
- Cotton and linen bond very well with fusible tape.
- Denim and canvas work, but pick a heavy tape and press longer.
- Polyester and nylon can melt. Use low heat and a cloth.
- Silk and rayon are delicate. Use light tape and quick presses.
- Wool needs a pressing cloth and gentle heat.
- Stretch knits work with flexible tapes. Do not pull the fabric while bonding.
- Coated or water repellent fabrics resist glue. Sew these when you can.
Before you learn how to use no sew adhesive tape on a real piece, prewash, press, and de-lint the area. Any finish, oil, or fuzz will hurt the hold.
Tips, tricks, and pro advice
These are the habits that gave me clean, sturdy results over the years.
- Keep steam off for most fusible tapes. Moisture can weaken the glue.
- Use a dry cotton pressing cloth. Old pillowcases work great.
- Press. Do not slide. Sliding can shift tape and cause folds.
- Bond in small sections. Heat spreads better that way.
- For corners, trim tape at angles so layers do not stack up.
- For curves, cut tape into short pieces and overlap a bit.
- Let the bond cool under a book for a few minutes for extra flat hems.
- When unsure, start with less heat and add more time.
Many readers ask how to use no sew adhesive tape so it lasts after washes. The small wins are in prep, heat control, and cool down time.

Care, washing, and durability
Bonds hold best after a full cure. Give them time. Most maker guides say to wait a day before washing.
- Wash on cold or warm. Use gentle cycles.
- Hang dry when you can. Heat in dryers can loosen weak bonds.
- Avoid bleach on bonded seams.
- Press bonded areas with a cloth. Do not park the iron too long.
If you want to know how to use no sew adhesive tape for clothes you wear a lot, choose a high quality fusible tape. Your results will improve with each wash cycle.
Common mistakes and troubleshooting
Small errors can lead to weak bonds. Here is how to fix them fast.
- Tape peeks out or sticks to iron. Use a pressing cloth and trim tape shorter.
- Hem lifts at edges. Reheat with more pressure and add a tiny patch inside.
- Fabric puckers. Reduce heat, press in shorter sections, and do not pull.
- Bond feels stiff. Use a lighter weight tape or less overlap.
- Tape will not stick. Check fabric finish. Wash and try again with more heat.
If you keep asking how to use no sew adhesive tape without mess, focus on clean edges and do not rush the cool down. That one pause makes a big difference.
Safety, limitations, and when to sew
No sew tape is strong, but not magic. Know its limits.
- Do not use on very high stress seams like crotch seams or backpack straps.
- Avoid very hot dryers on new bonds.
- Keep irons away from children and use a heat safe surface.
- Check for skin contact safety if used near costumes or kids’ items.
In my tests, tape works best for hems, trims, and light joins. For load bearing seams, stitch or use a mix of light stitching and tape. This is wise even when you know how to use no sew adhesive tape very well.
Project ideas and use cases
You can level up many projects with tape and an iron in under an hour.
- Jeans or trouser hems before a trip.
- Curtain panels that are a touch too long.
- Table runners and napkins with clean edges.
- Temporary costume tweaks for school plays.
- Pocket repairs on light shirts or aprons.
- Appliqués and patches for crafts.
Each idea is a good way to practice how to use no sew adhesive tape. Start small, then try heavier fabrics as you gain skill.
Frequently Asked Questions of how to use no sew adhesive tape
Does no sew adhesive tape work on denim?
Yes, but choose a heavy duty fusible tape. Press longer with firm pressure and let it cool flat.
Can I remove hem tape later?
Often, yes. Warm the area, peel gently, and scrape residue with a cloth. Some tapes leave marks on delicate fabrics.
Is it washable and dryable?
Most fusible tapes survive gentle cycles after a full cure. Air dry or use low heat to extend bond life.
Can I use it on stretch fabric?
Use a flexible tape made for knits. Do not stretch the fabric while pressing, or the bond may pop.
What iron setting should I use?
Match the iron heat to the fabric and tape guide. Start lower, test on a scrap, then raise heat if needed.
Will it show through thin fabrics?
Light fabrics can show a ridge. Use lighter tape, trim close, and press with a cloth to smooth edges.
Can I use steam?
Most tapes prefer dry heat. Follow the package; a few products do allow light steam.
Conclusion
You now know how to use no sew adhesive tape with skill and confidence. Prep the fabric, place the tape well, press with care, and let it cool. Those four moves give you clean hems and strong bonds.
Try a small fix today, like a curtain edge or a shirt hem. Share what worked, what did not, and your questions in the comments. Want more quick guides and project ideas? Subscribe and get fresh, simple tips each week.