To get adhesive to stick in cold weather, start by warming both the surfaces and the adhesive to improve bonding, using a heat gun, hair dryer, or warm indoor environment. Clean and dry surfaces thoroughly to remove frost, moisture, or dust, as these prevent proper adhesion. Choose a cold-weather or low-temperature adhesive specifically formulated to cure at lower temperatures. Apply the adhesive quickly and press surfaces firmly together, allowing extra curing time if necessary for a strong, lasting bond.
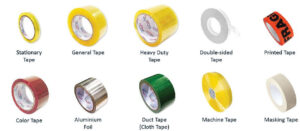
Best Products for Cold Weather Bonding
If you are working in an unheated garage or outdoors, these specific products are engineered to provide an “all-weather” grip.
Product Why it’s the Best for Cold Weather Temperature Range Gorilla All-Weather Tape Best for Outdoor Repairs. Permanent butyl adhesive that won’t crack in the cold. -40°C to 93°C 3M VHB Heavy Duty Tape Best for Metals & Plastics. Closed-cell acrylic foam that stays flexible. Low-temp versions available Seekone Heat Gun Kit The Essential Tool. Necessary for prepping surfaces in winter. Variable Temp: 50°C – 600°C
Pre-warm parts and adhesive, pick a cold-rated formula, and keep it dry.
Cold slows cure and ruins tack, but you can fix that. In this guide, I show you exactly how to get adhesive to stick in cold weather, with steps I use on real jobs. We will cover science, setup, product picks, and tricks that save time and money.
Why cold weather makes adhesives fail
Cold temperatures change how glue behaves. Viscosity goes up, so the bead will not wet the surface. Many chemistries also need heat to cure. Below a limit, the cure stalls or stops. Moisture and frost add more risk. The bond fails even if it looks fine at first.
Most adhesives list an application range on the data sheet. Many read 40 to 95°F. Below that, you lose tack and strength. Plastics can reach their glassy state in the cold. That lowers bond strength more. This is why learning how to get adhesive to stick in cold weather matters.
Key cold-weather risks:
- Condensation on cold parts blocks wet-out and cure.
- Salt, ice melt, and frost stop adhesion at the interface.
- Short open time in the cold tricks you into moving too fast or too slow.
- Rigid substrates shrink and add stress to the joint.
Choose the right adhesive for cold conditions
Product choice is half the battle. Each chemistry has a usable temperature window. Aim for products tested or rated for low temperatures. This is the base rule for how to get adhesive to stick in cold weather.
Cold-friendly options:
- MS polymer and hybrid construction adhesives. Good tack in the cold. Many grab at 32°F with slower cure.
- Polyurethane (1-part). Bonds wood, metal, foam. Many need 40°F+. Some winter-grade types work near 20°F with longer clamp time.
- Silicone (RTV). Stays flexible. Bonds glass, metals, and many plastics. Cures slow in cold but still cures if dry.
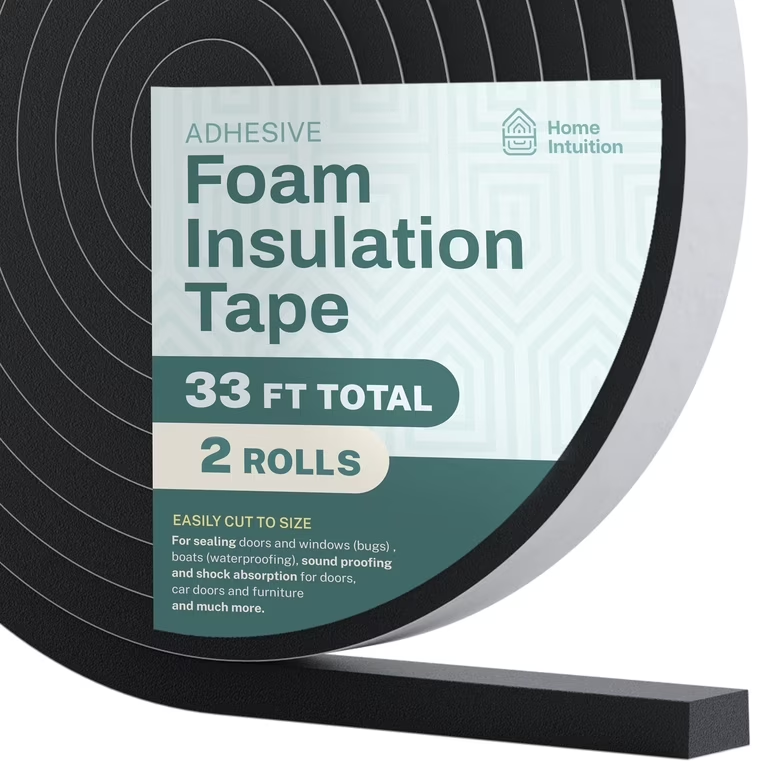
- Butyl tapes. Great for roofing and flashing. Pressure-sensitive. Work in cold if you warm the tape and apply strong pressure.
- Acrylic PSA tapes (VHB type). Can be applied near 32–50°F if warmed. Full strength after 72 hours at room temp.
- Two-part epoxies. Exotherm helps in the cold. Use fast-curing or low-temp hardeners. Many cure at 35–50°F with a heat assist.
- Cyanoacrylate (super glue). Fast on small parts. Brittle in cold. Use rubber-toughened grades if possible.
Tip: Check the Technical Data Sheet. Look for application temperature, cure time at 40°F, and recommended clamping time. If you must learn how to get adhesive to stick in cold weather, the TDS is your roadmap.
Is Adhesive Stronger Than Glue? -Adhesive vs. Glue | Strength Differences Explained
Cold-weather surface prep that works
Clean, dry, warm. That is your winter prep mantra. A clean and warm surface gives the glue a chance to wet and grab. This is core to how to get adhesive to stick in cold weather.
Do this:
- Bring parts inside, or at least above dew point. Wipe off any frost.
- Degrease with a solvent that flashes fast. Use clean lint-free wipes.
- Scuff glossy surfaces to improve wet-out. Vacuum dust after sanding.
- Use a primer when the TDS calls for it. Primers help on low-energy plastics.
- Warm the bonding area to 60–80°F for a few minutes. A safe heat gun or IR lamp works well.
Pro move: Check dew point. If the part is colder than the air’s dew point, water will condense. Warm the part first, then clean and bond. That single step changed my winter results overnight.
Control temperature and humidity
Heat is a tool. Use it on the adhesive, the parts, or the air. Control moisture as well. Doing this well is how to get adhesive to stick in cold weather without guesswork.
Ways to add gentle, dry heat:
- Warm the cartridge or tape in a pocket, warm water bag, or heated box.
- Pre-warm parts with an IR lamp for 5–10 minutes.
- Build a small tent with plastic sheeting. Use a safe space heater to keep 55–70°F inside.
- Use a heat gun on low to post-warm the joint after assembly. Keep it moving to avoid damage.
Moisture control tips:
- Keep snow, sleet, and breath vapor off the joint.
- Vent tents to avoid condensation.
- Store materials indoors until use.
Safety first: Follow flammable solvent and heater rules. Do not use open flames near solvents or foam. Watch substrate max temperatures.
Can Adhesive Tape Withstand High Temperatures– Best Heat-Resistant Options
Application techniques that boost bond strength in the cold
The way you apply the bead matters more in winter. Shorter open times and stiff beads demand care. These steps are my playbook for how to get adhesive to stick in cold weather.
Use these techniques:
- Apply a slightly larger bead to make up for poor flow.
- Spread with a notched trowel or roller to help wet-out.
- Press hard. Pressure is key for tapes and PSAs. Aim for firm, even pressure across the joint.
- Clamp longer. Double your normal clamp time when under 45°F.
- Avoid moving the joint during the first hour. Movement breaks early bonds.
For tapes:
- Warm both tape and surface. Apply steady pressure with a roller.
- Seal edges to keep water out during cure.
For epoxies:
- Pre-warm resin and hardener. Mix fully. A warm mix lowers viscosity and wets better.
- If allowed, use a faster hardener to beat the cold.
Curing and aftercare in low temperatures
Cold slows cure. Plan for it. Your job is to hold the joint warm, still, and dry. This is the quiet secret for how to get adhesive to stick in cold weather.
Smart cure care:
- Keep the joint above the minimum cure temperature for 24–72 hours.
- Shield from wind. Wind steals heat and adds moisture.
- Do a thumb-tack test on sealants. If it skins but stays soft, give it more time.
- Load the joint only after it reaches handling strength per the TDS.
If time is tight:
- Add post-cure heat cycles. Warm for 30–60 minutes, let cool, repeat.
- Move the assembly indoors if possible.
Real-world examples and lessons learned
I once had a fascia bond fail at 28°F. The parts looked clean. They were not warm, and dew formed as we worked. We redid it with a tent, an IR lamp, and a hybrid adhesive rated to 14°F. We clamped it overnight and checked it two days later. Solid.
On a fleet vinyl install at 35°F, we stored tapes in a heated box. Each panel got wiped, warmed, rolled, and post-warmed. We doubled pressure passes. Zero edge lifts after a month. Those two jobs taught me how to get adhesive to stick in cold weather with simple, repeatable steps.
Mistakes to avoid:
- Bonding over “invisible” condensation.
- Rushing clamp removal.
- Using summer-only products in winter.
- Skipping primer on tricky plastics.

Troubleshooting: common issues and quick fixes
Even with care, things can go wrong. Use these quick checks. They are fast ways to recover and show how to get adhesive to stick in cold weather when time is short.
Problems and fixes:
- Bead will not stick. Warm the surface and bead. Clean again. Add light abrasion.
- Tape lifts at edges. Re-roll with heat. Seal the edge. Add a fillet of sealant if needed.
- Cure stalls. Build a small heat tent. Hold above 50°F for several hours.
- Brittle bond. Switch to a more flexible grade. Silicone, MS polymer, or toughened epoxy.
- Oily look after cure. Likely contamination. Strip, clean, prime, and rebond.
Tools and materials checklist for cold-weather bonding
Have a winter kit ready. It saves time and stress on site. A prepared kit is a big part of how to get adhesive to stick in cold weather.
Pack this:
- Low-temp-rated adhesive or tape, plus primer if needed
- Heat gun with variable settings or IR lamp
- Small space heater and plastic sheeting for a tent
- Clean solvent, lint-free wipes, and scuff pads
- Rollers, clamps, and spreaders
- Infrared thermometer and hygrometer for dew point checks
- Spare nozzles and mixing tips for two-part systems
Safety, warranties, and limits
Cold work has limits. Respect the TDS and any warranty rules. That protects your time and your job. It also sets a safe bar for how to get adhesive to stick in cold weather without risk.
Keep in mind:
- Below the stated application temperature, many makers will not honor failures.
- Excess heat can warp plastics or weaken paint. Check substrate limits.
- Some chemistries need moisture to cure, others do not. Know which you use.
- When in doubt, make a small test bond on scrap and pull-test it the next day.
Frequently Asked Questions
What is the best way to warm a surface before gluing?
Use an IR lamp or a heat gun on low. Keep it moving and aim for 60–80°F at the surface.
Can I use epoxy below freezing?
Yes, with a low-temp hardener and added heat. Expect longer cure times and clamp longer.
Do pressure-sensitive tapes work in the cold?
They can with prep and pressure. Warm both the tape and surface, then roll firmly.
How long should I clamp in cold weather?
At least twice the normal time. Check the TDS; many need 24 hours for handling strength in the cold.
Will condensation ruin a bond even if I clean well?
Yes. If the surface is below dew point, water forms again. Warm the part above dew point before cleaning and bonding.
Conclusion
Cold weather does not have to kill your bond. Pick a low-temp-rated product, warm the parts, clean well, press hard, and protect the cure. That is the simple, proven path for how to get adhesive to stick in cold weather when the mercury drops.
Put these steps to work on your next job. Test on scrap, track what works, and build your own winter kit. Want more guides like this? Subscribe, share your results, or ask a question in the comments.