How To Make Tape Stick Better On Smooth Surfaces?
Getting tape to stick well on smooth surfaces can be tricky. Whether you’re hanging decorations on glass, mounting objects on tile, or sealing plastic, you might find that tape peels off too quickly or doesn’t hold at all. This is a common frustration, but the good news is there are proven ways to make tape work much better—even on the slickest materials.
The right steps can turn a weak bond into a strong hold. In this guide, you’ll discover why tape sometimes fails, what really matters for adhesion, and simple changes you can make right away. You’ll also learn from real-world examples and see clear comparisons between different methods.
By the end, you’ll have practical solutions you can trust, without needing special skills or expensive tools.
Clean The Surface Thoroughly First
For tape to stick on smooth surfaces, the surface must be very clean. Dust, oils, fingerprints, and even tiny bits of soap can weaken the tape’s grip. Many people skip this step or wipe quickly with a towel—but that’s usually not enough.
To clean effectively:
- Use isopropyl alcohol or rubbing alcohol on a lint-free cloth.
- Wipe the area well and let it dry completely.
- Do not touch the cleaned spot with your fingers.
If you don’t have alcohol, mild soap and water can help, but avoid leaving soap residue. Alcohol removes oils that normal cleaning misses, especially on glass, metal, or plastic.
Practical tip: Even new surfaces often have a thin oil layer from manufacturing, so always clean before taping.
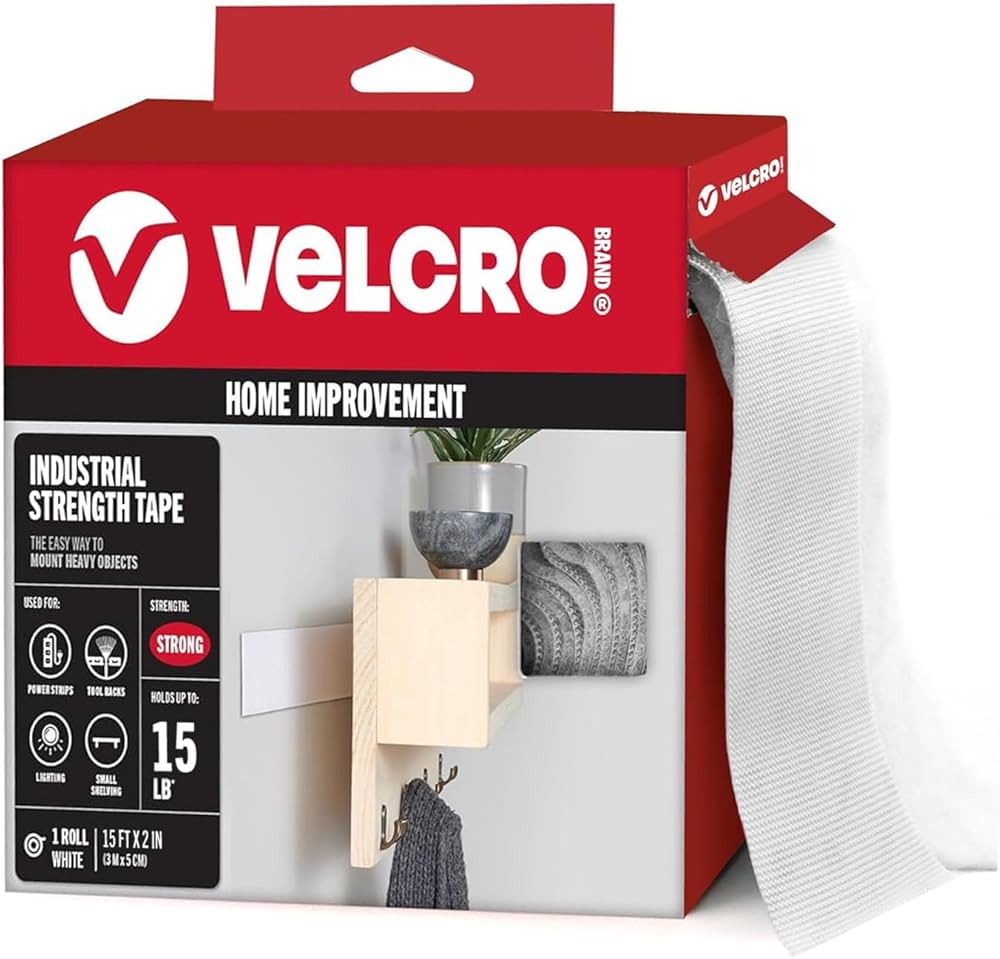
Choose The Right Tape For The Job
Not all tapes are made for smooth surfaces. The wrong tape may peel off quickly. Here’s what matters:
- Double-sided mounting tape works best for glass, tile, or polished metal.
- Acrylic-based tapes hold up better than rubber-based tapes on slick materials.
- High-tack tapes are designed for low-porosity surfaces.
Let’s compare common tape types:
| Type of Tape | Good for Smooth Surfaces? | Example Use |
|---|---|---|
| Standard masking tape | No | Painting, paper |
| Packing tape | Sometimes | Sealing boxes |
| Double-sided acrylic tape | Yes | Mounting on glass, tile |
| Duct tape | Temporary | Quick repairs |
| Washi tape | No | Decorations |
Non-obvious insight: Some specialty tapes are made just for surfaces like mirrors or tiles—always check the packaging before buying.
Double-Sided Tape vs Single-Sided Tape – Best Uses for Each Type
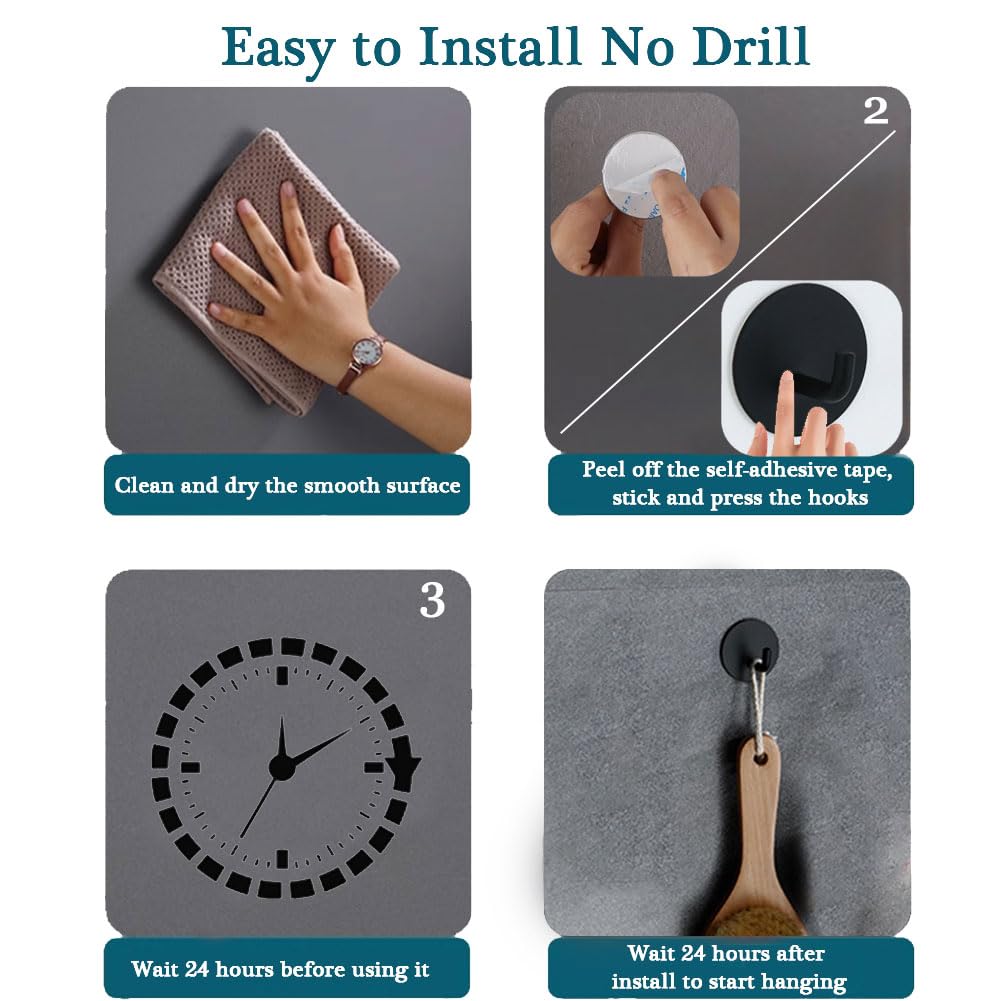
Apply Firm, Even Pressure
Tapes need pressure to form a strong bond. Simply pressing with one finger is not enough, especially on glass or metal. Pressing evenly along the entire tape length helps the adhesive spread and grab onto the surface.
How to do it right:
- Use a clean, dry cloth or your palm.
- Press the tape down and hold for 10–30 seconds.
- For long strips, press section by section.
Practical example: When mounting a hook on a bathroom tile, press firmly for at least 20 seconds, not just a quick tap.
Warm Up The Tape And Surface
Temperature affects tape adhesion. Cold surfaces make tape stiff and less sticky. Warming both the tape and the surface can improve stickiness a lot.
How to warm:
- Use a hair dryer on low heat for a few seconds before and after applying the tape.
- The ideal surface temperature is around 21–30°C (70–86°F).
Beginner mistake: Don’t overheat—too much heat can damage some tapes or surfaces. Just a gentle warmth is enough.
Data point: Studies show that warming up the adhesive can increase bond strength by 15–30% on glass and metal.
Avoid Moisture And Humidity
Moisture is a tape’s enemy on smooth surfaces. Even a little water or humidity can cause tape to peel.
Best practices:
- Dry the surface completely before applying tape.
- If using tape in a bathroom or kitchen, avoid applying right after a shower or cooking.
- For outdoor surfaces, wait for a dry day.
Example: Applying tape to a mirror right after wiping with a wet cloth often leads to peeling within hours.
Non-obvious insight: Humidity in the air, not just liquid water, can cause problems—especially in bathrooms or basements.
Use A Primer Or Adhesion Promoter
Adhesion promoters are special liquids you wipe on before taping. They help tape stick much better to slick materials like plastic, glass, and painted metal.
How to use:
- Clean the surface.
- Apply a thin layer of primer and let dry (usually 1–2 minutes).
- Apply the tape as usual.
These are often used in car repairs, industrial work, and home improvement. Many brands offer adhesion promoters in small bottles or wipes.
Real-world example: 3M makes a popular primer that can increase tape stickiness by up to 40% on low-energy plastics.
Roughen The Surface Slightly (if Possible)
Smooth surfaces are hard for tape to grip. If you can, lightly roughening the area with fine sandpaper can help.
Steps:
- Use 400–600 grit sandpaper.
- Gently rub where the tape will go—enough to dull the shine, not scratch deeply.
- Clean off dust before taping.
This method works well for plastic, painted metal, and sometimes tile. Avoid on glass, as it will leave scratches.
Important: Only roughen if appearance is not critical, or if the tape will cover the area.
Choose The Correct Tape Width And Thickness
Wider and thicker tapes often stick better on smooth surfaces. Thin or narrow tape may not have enough surface area to hold strongly.
Comparison of tape sizes:
| Tape Width | Typical Use | Adhesion Strength |
|---|---|---|
| 6 mm (¼ inch) | Light items, crafts | Low |
| 12 mm (½ inch) | General use | Medium |
| 25 mm (1 inch) or more | Mounting, heavy items | High |
Practical tip: For mounting anything heavier than a postcard, choose at least 1 inch wide, thick tape.
Let The Tape “cure” Before Putting Weight
Most tapes get stronger over time. The adhesive needs time—often called “curing”—to fully bond to the surface.
How Long?
- Wait at least 30 minutes before putting any weight on the tape.
- For maximum strength, wait 24 hours.
Example: If you tape a cable holder to a window, let it sit overnight before hanging the cable.
Non-obvious insight: Quick “stick” is not the same as full strength—be patient for best results.
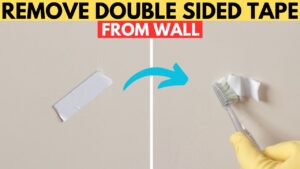
Remove Old Tape Or Adhesive Residue
Old glue or tape left on the surface can block new tape from sticking. Always remove any sticky leftovers before applying fresh tape.
How to clean:
- Peel off as much as possible with your fingers.
- Use adhesive remover or rubbing alcohol for tough spots.
- Scrape gently with a plastic scraper if needed.
Beginner mistake: Sticking new tape over old residue rarely works for long.
Avoid Touching The Sticky Side
Your fingers have oils and dirt that weaken tape. Try not to touch the sticky side as you remove the backing and place the tape.
How to avoid:
- Peel only a small section of the backing at a time.
- Hold the tape by the edges, not the sticky part.
- Use tweezers for tiny pieces.
Example: When hanging decorations on a glass door, touching the sticky side can cut tape strength by 10–20%.
Consider Environmental Conditions
Extreme temperatures or sunlight can affect how well tape sticks on smooth surfaces.
- In cold weather, tape adhesive becomes less sticky.
- In hot weather, some tapes become soft or melt.
- Direct sunlight can weaken glue over time.
Practical tip: If taping outdoors or near windows, choose tapes labeled for “all-weather” or “UV-resistant.”
Match Tape To Surface Energy
Some surfaces are “low-energy,” meaning they are very hard for adhesives to stick to (like polyethylene or polypropylene plastics). Others are “high-energy” (like glass or metal) and are easier.
If you know the material:
- For low-energy plastics, use tapes labeled “for difficult plastics.”
- For glass or metal, most high-tack tapes will work.
Non-obvious insight: Many people don’t realize common plastics in kitchens and bathrooms are “low-energy” and need special tapes.
Store Tape Properly Before Use
Tape can lose stickiness if stored badly. Heat, moisture, and dust can ruin the adhesive.
Best storage:
- Keep tape in a cool, dry place.
- Leave rolls in their original packaging.
- Avoid direct sunlight and extreme temperatures.
Practical tip: If your tape feels less sticky than before, it might be old or affected by poor storage.
Test Tape On A Small Area First
Every surface and tape combination is a bit different. Before applying a big piece, always test a small section.
How to test:
- Stick a small piece in an out-of-sight spot.
- Wait 10–15 minutes, then try to peel it off.
- If it comes off easily, try another tape or prep method.
Example: Testing double-sided tape on a bathroom tile can save you from a failed project later.
Use Mechanical Help When Needed
Sometimes, even the best tape and prep aren’t enough for very heavy items or difficult surfaces. In these cases, combine tape with mechanical support:
- Use clips, brackets, or suction cups for extra hold.
- For cables, use adhesive mounts with screws.
- For large mirrors or panels, use both tape and anchors.
Non-obvious insight: Tape alone is not always the safest choice for heavy or valuable objects on glass or tile.
Compare Common Tape Brands
The quality of tape varies between brands. Here’s a quick look at popular options:
| Brand | Type | Performance on Smooth Surfaces |
|---|---|---|
| 3M VHB | Acrylic foam tape | Excellent |
| Scotch Mounting Tape | Double-sided foam | Very good |
| Gorilla Tape | Duct tape | Good (temporary) |
| Tesa Powerbond | Mounting tape | Very good |
| Command Strips | Removable tabs | Good for small items |
Practical tip: For long-term mounting on glass, 3M VHB or Tesa Powerbond are top choices.
Summary: The Best Way To Make Tape Stick On Smooth Surfaces
To get tape to stick better on smooth surfaces, follow these steps:
- Clean the surface with alcohol.
- Choose high-quality, high-tack tape meant for smooth materials.
- Warm the tape and surface slightly.
- Press down firmly and evenly.
- Let the tape cure before loading.
- If needed, use adhesion promoter or roughen the surface.
- Store tape well and test before big projects.
Remember, a little extra effort before applying tape often makes the difference between a long-lasting hold and a frustrating failure.
For detailed advice on adhesives and surfaces, you can check Wikipedia’s Adhesion article.
Frequently Asked Questions
Why Does My Tape Keep Falling Off Glass Or Tiles?
Smooth surfaces like glass or tile don’t give tape much to grip. Common reasons for tape failure are surface oils, dust, moisture, or using the wrong tape. Cleaning well and using high-tack tape designed for smooth surfaces usually solves the problem.
Can I Use Regular Masking Tape On Shiny Surfaces?
Masking tape is not made for smooth, shiny surfaces. It often peels off quickly, especially on glass or polished metal. For these materials, double-sided acrylic or special mounting tapes are a much better choice.
What Can I Do If The Tape Still Doesn’t Stick After Cleaning?
Try warming the surface and tape gently, using a primer, or roughening the area with fine sandpaper. Also, check if the tape is old or stored badly—fresh tape works best. For very difficult surfaces, use mechanical support along with tape.
How Long Should I Wait Before Putting Weight On Tape?
Wait at least 30 minutes, but for the best strength, give the tape 24 hours to cure before adding weight. This lets the adhesive reach its full strength and prevents early peeling or falling.
Is There A Tape That Works On Everything?
No tape works perfectly on all surfaces. Each type has strengths and weaknesses. For smooth, low-energy plastics, use tapes labeled for those materials. For glass and metal, high-tack acrylic mounting tapes are best. Always match the tape to your specific surface and job.
With these steps and tips, you can finally make tape stick better—even on the slickest surfaces.